Create a goal
In this guide, you'll learn how to create a new goal for your application. Among other things, this lets you:
- Trigger postbacks
- Attribute user behaviors
Before you begin
Only admins and managers can create and edit goals. So, to complete the steps in this guide, you must first be an admin or manager for your organization.
Learn more about user roles in User Roles and Permissions.
You can only create 25 goals per application, so if you've already reached that limit, you won't be able to follow this guide.
Create a goal
In the App Menu, click Marketing > Goals
On the Goals list card, click Create goal
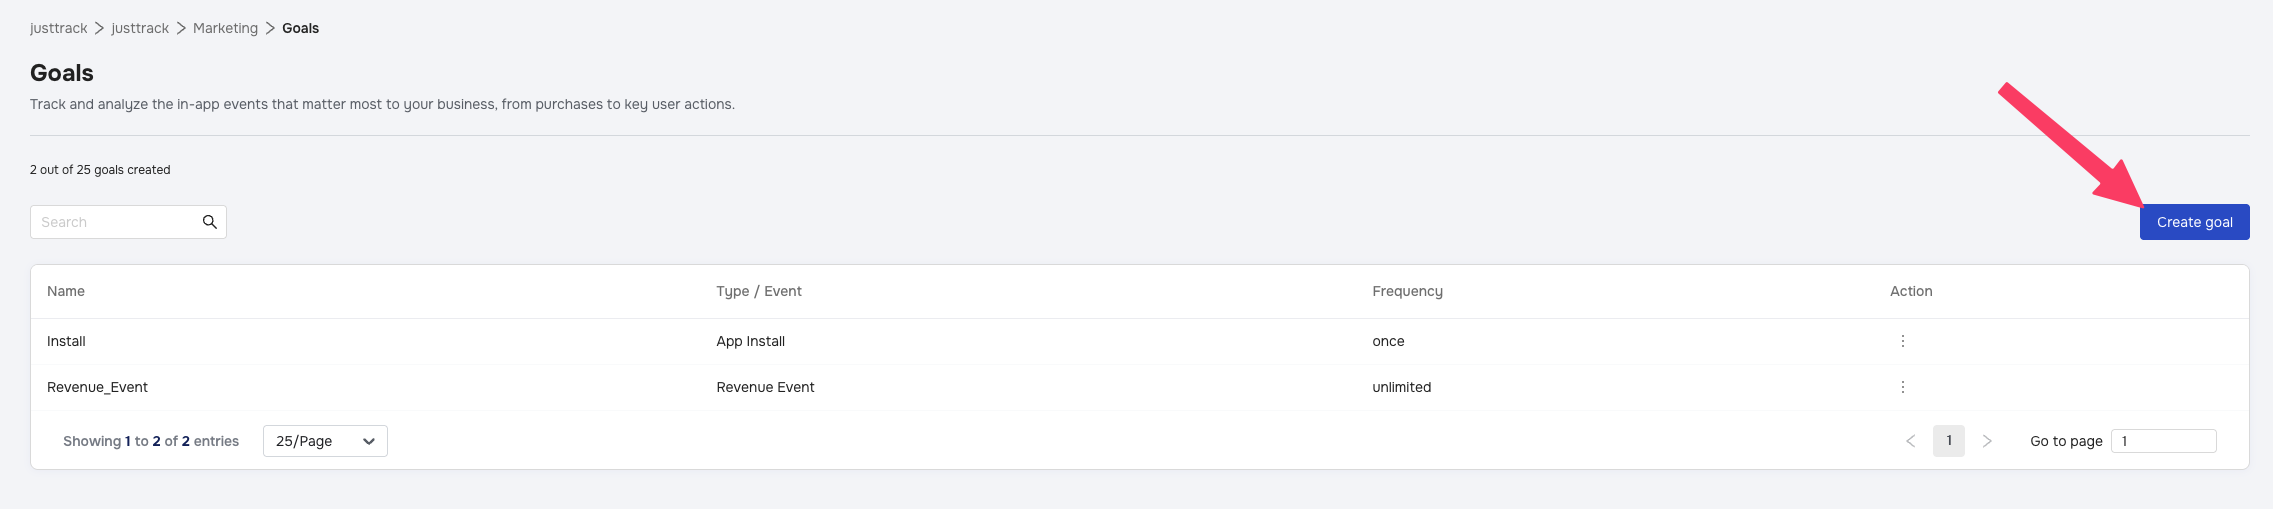
This opens the Goal Wizard, which walks you through the steps of creating a new goal for your app.
Select the goal event
Every goal is based on an event. When this event happens under certain conditions and at a certain frequency, the goal is triggered. Here, you select the event on which the goal is based:
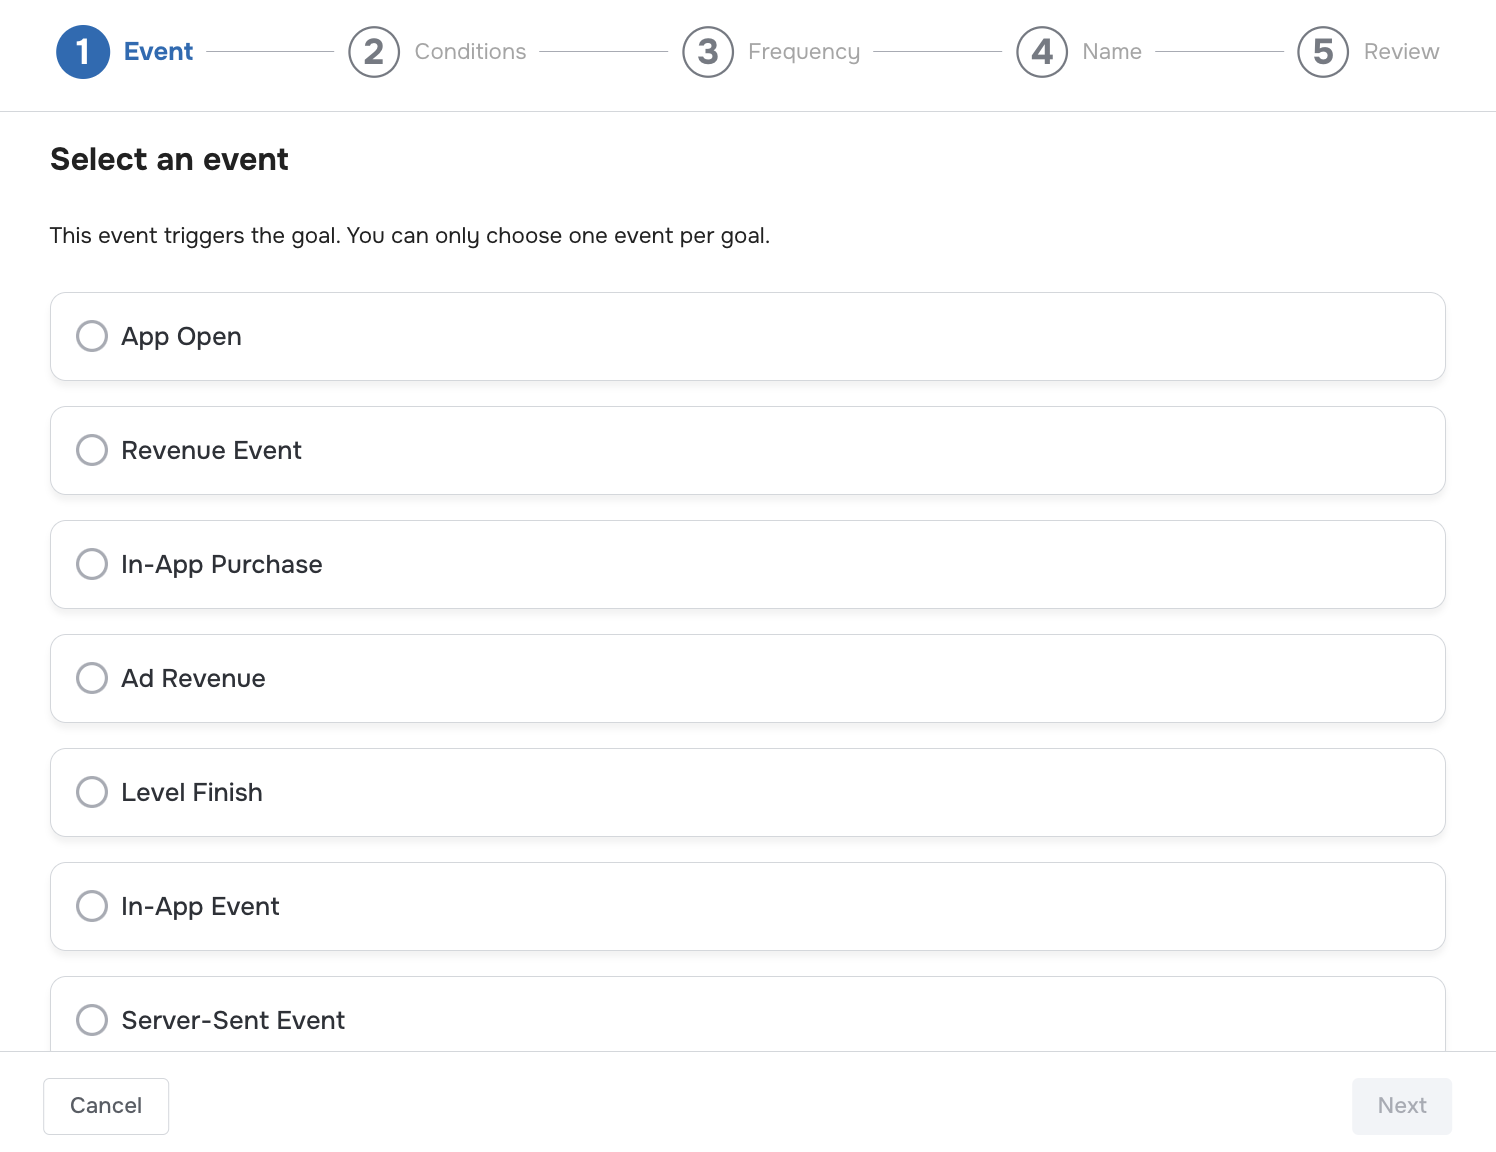
If your goal is based on an in-app or server-sent event, you'll also need to choose a specific event to use.
To clarify the purpose of each event, we've provided tool tips that are available when you hover over the event.
When you're finished, click Next.
Select goal conditions
You can configure your goal to be triggered only if the event happens under certain conditions. For example, imagine you have a goal based on the level-completion event. However, you only want to trigger it if the user picks up a collectible before completing the level. This is a goal condition.
On the Conditions page, you can choose All Events, which means that the goal is triggered any time the event happens. If you want to set a goal condition, choose Some Events, instead:
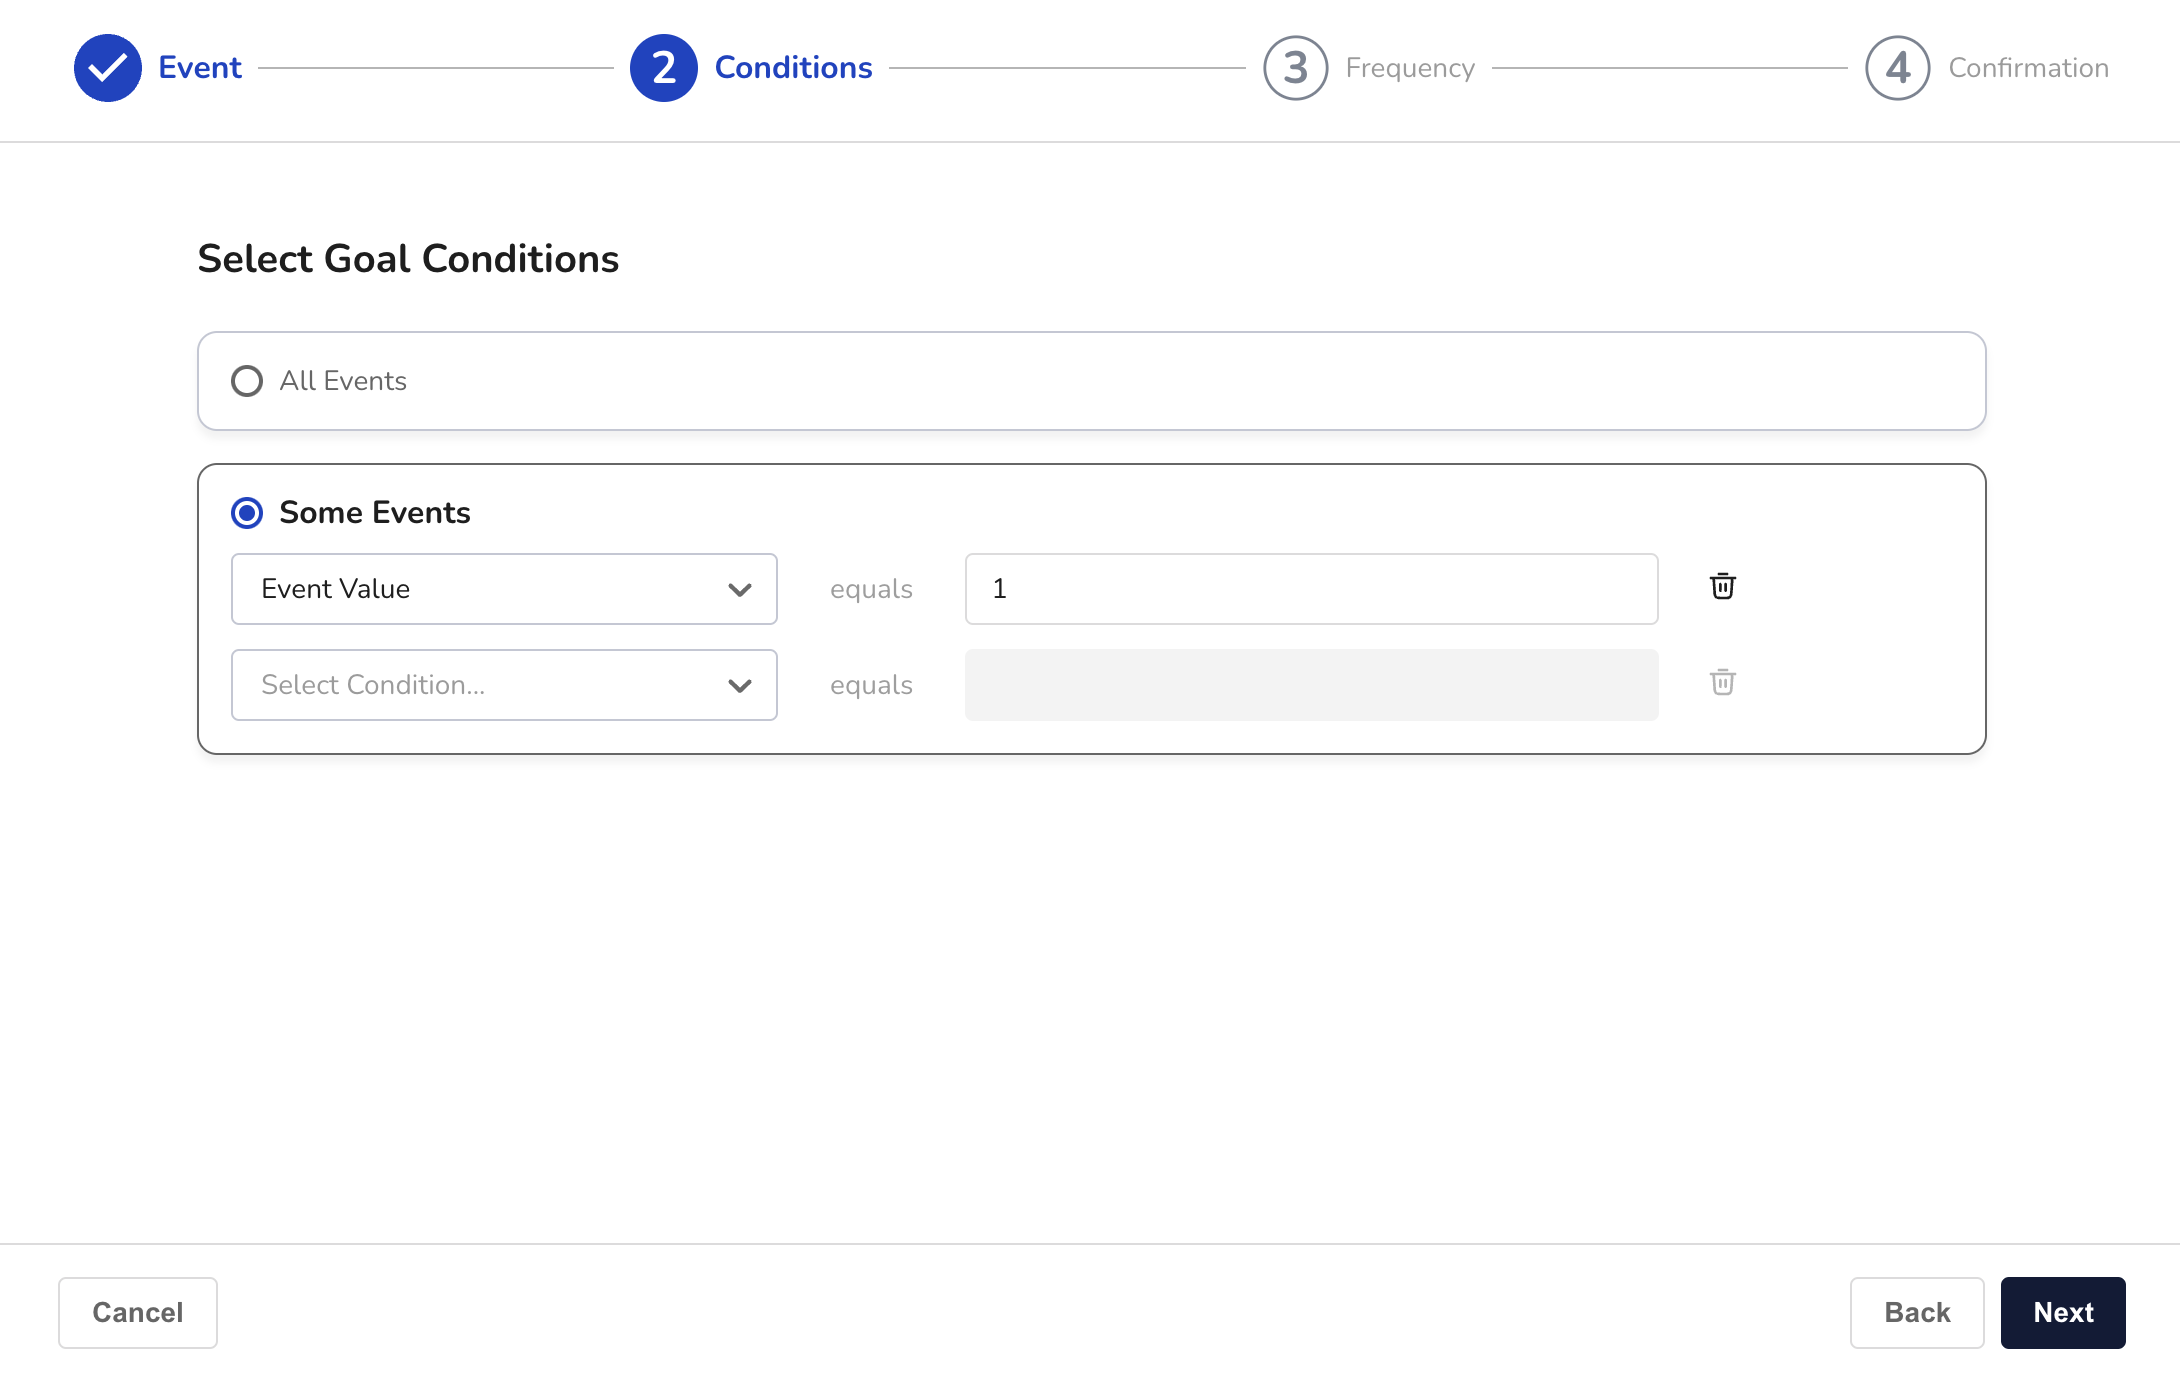
Here, you'll set a goal condition by choosing some attribute of the event and a value that it needs to equal.
You can add as many conditions here as you need, provided that each event attribute is only used once.
When you're ready to move on, click Next.
Select goal frequency
On the Frequency page, you can choose how frequently the goal is triggered. The two possible values are:
- Unlimited: Every time an event happens.
- Once: Only one time per user.
If you choose Once, you'll have the option to restrict the goal to trigger only for users who are created after the goal is created.
Make a selection, and click Next.
Name your goal
Now, you'll name your goal.
Type the name of your goal in the Goal Name field.
Your goal name must use only letters, numbers, and underscores.
As you type, the field also searches for existing goals you might want to reuse. You can either:
- Choose an existing goal from the search results.
- Choose a new name and create the goal from scratch.
When you're done, click Next.
Confirm your goal
On the Review page, you'll review all the details for your goal. If you need to edit any settings for your goal, click Back. You can also edit some of these settings later.
Important: You can't change the name of the goal after you create it, so make sure you're happy with the name you've chosen.
Conclusion
You're done! You've created a goal for your app. Don't forget, you can always update or delete the goal later, if you need to.
With your new goal, you can also:
- Create or activate an associated postback
- Build tracking URLs based on your goal
- Configure campaigns to use it as the campaign goal