Connect a custom partner
PRO FEATURE
This feature is available on the Pro pricing plan. Please email support@justtrack.io for more details.
While justtrack offers many integrated partners for you to use with your application, you may need to connect a custom partner we don't yet support. You can connect a custom partner with just four steps using our partner wizard.
Before you begin
Only admins and managers can connect and edit partners. So, to complete the steps in this guide, you must first be an admin or a manager for your organization.
Learn more about these roles in User Roles and Permissions.
Open the partner wizard
In the Organization Menu, click Admin > Apps
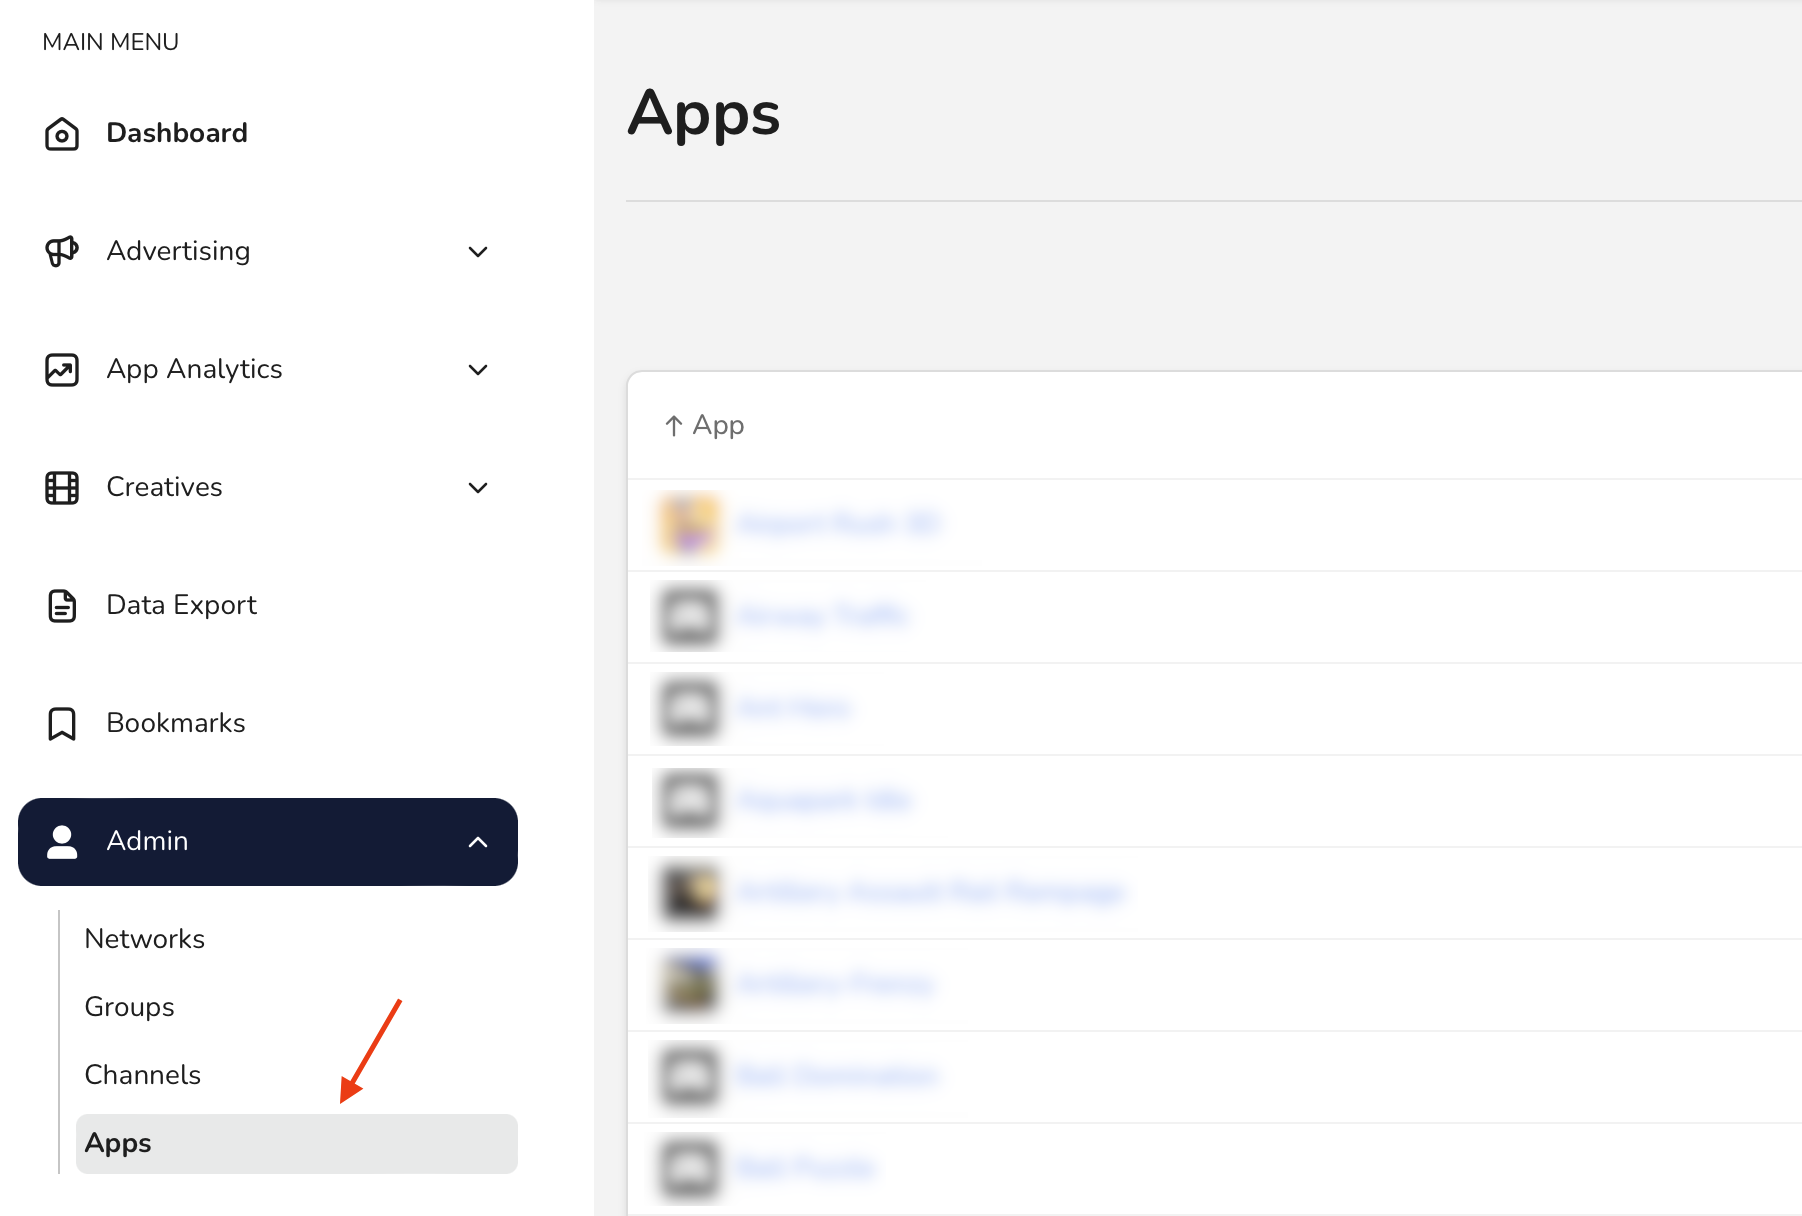
Then, select an app. This opens the App Hub where you can see or edit details about your app.
On the Advertising card, click Manage Integration:
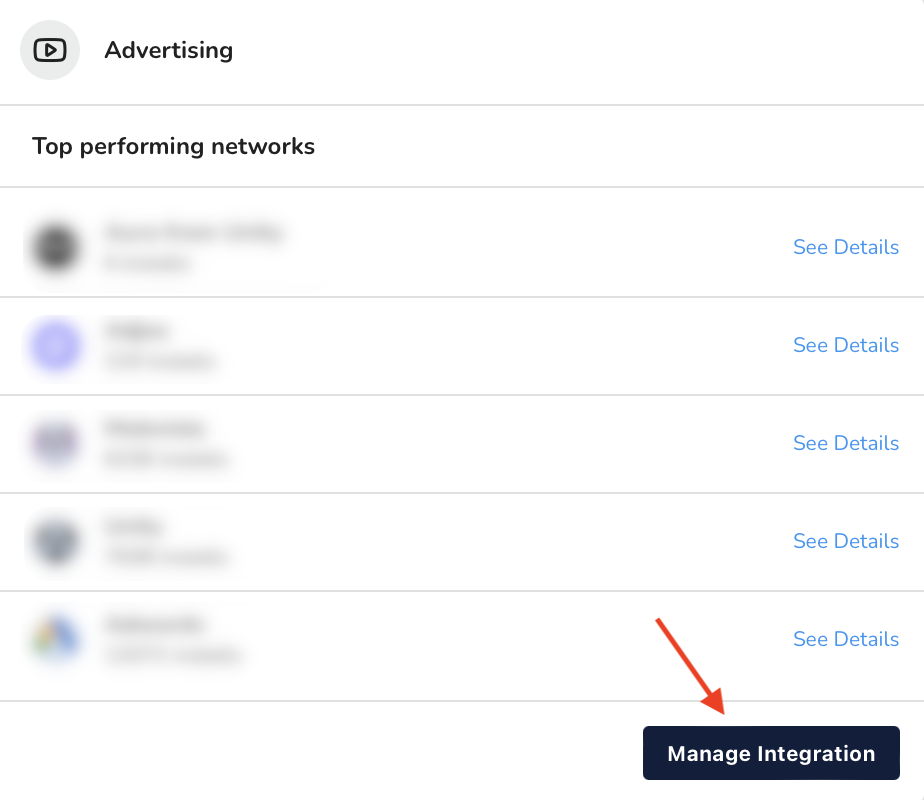
This opens the partner list where you can see all partners that are connected to your app.
Click Connect partner:
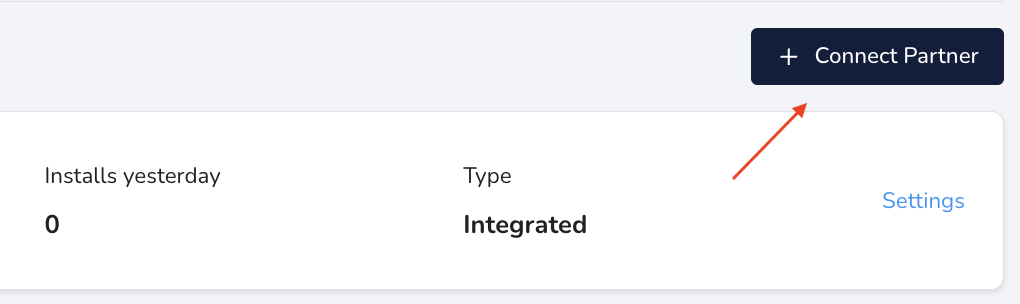
This opens the partner wizard where you'll connect a partner to your organization. In this guide, you learn how to connect a custom partner.
Connect a custom partner
In the partner wizard, filter the partners to Custom and click Connect custom partner:
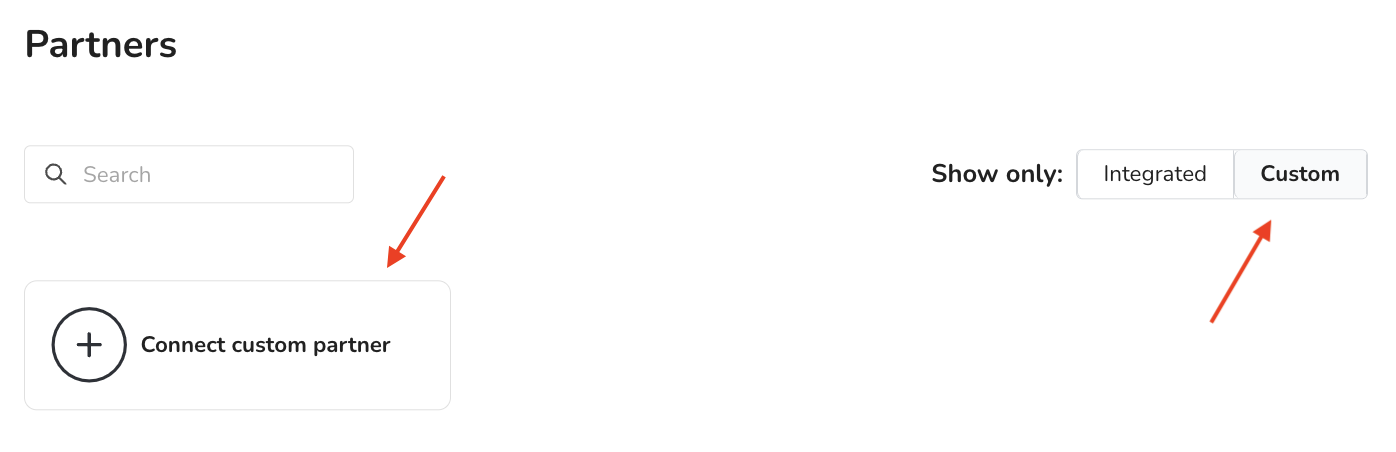
If you've already connected a custom partner to another app, you can also select the custom partner here. The process will be the same except
This opens the Partner details page where you'll input the following attributes:
| Attribute | Description |
|---|---|
| Partner Name | The name of the custom partner |
| Default Channel | The default channel to use for campaigns for this partner. |
If your partner's default channel isn't included in the options, create a new channel.
Fill in the details for your partner, and click Next.
Configure your install postback
When you've connected your partner, you'll land on the Install postback page. Here, you'll configure a postback for app installs:
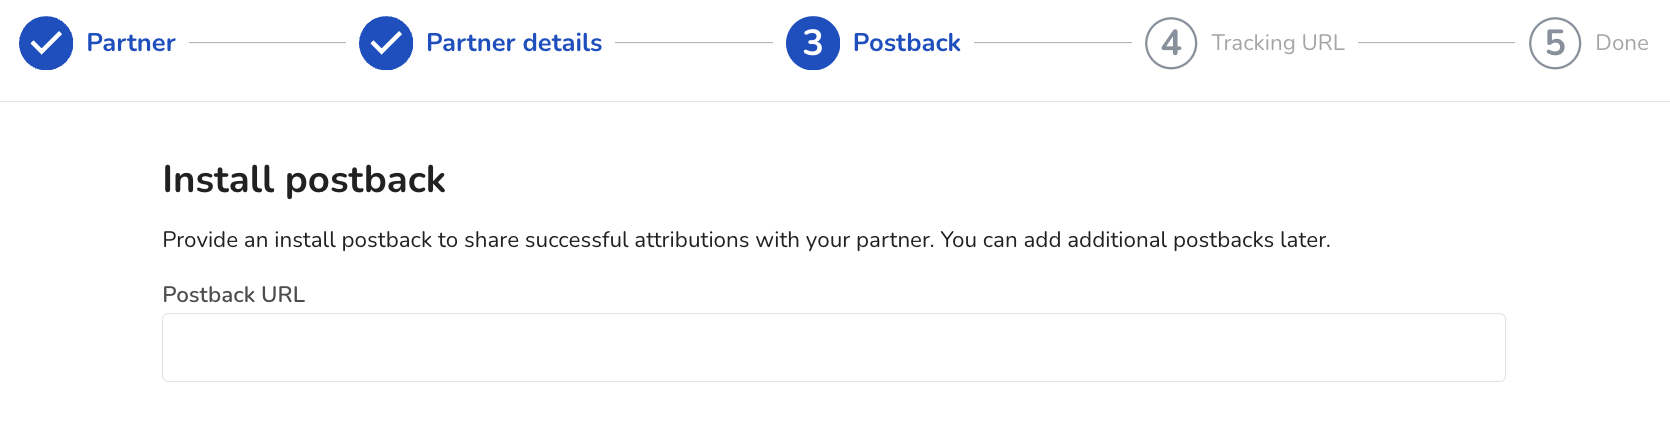
Add your postback URL, which comes from the partner. If you can't find a template in the partner platform, ask your account manager. When you're finished, click Next.
In the query string for your postback, you may include parameters and macros. The parameters are defined by the ad partner, but the macros are defined by justtrack. Here you'll find a list of all the available macros. If you use macros that aren't included in this list, we won't be able to provide real data in the postback.
If you're using a macro, you must also use curly braces {}. Without them, you'll send the value as a hard-coded string.
Set up your tracking URL
On the Tracking URL page, you'll configure your tracking URL parameters:
Here, you configure the parameters for your tracking URLs, using the following fields:
| Attribute | Description |
|---|---|
| Parameter | The name of the parameter you'll use in justtrack |
| Placeholder | The macro to be used in the query-string. For justtrack parameters, this value isn't important. For partner parameters, this is the name your partner uses to refer to the corresponding parameter. Check their documentation for this value. |
You can hard code some of these parameter values, but most will be dependent on the partner, campaign, and user. For these, you use macros. If you use macros that aren't approved by the ad partner, we won't receive real data in the tracking URL.
If you're using a macro, you must also use curly braces {}. Without them, you'll send the value as a hard-coded string.
The partner wizard automatically shows some parameters. These are all required. If you want to see more:
- Click Macro
- Choose the parameter you want to track
- Customize the macro
- Select which URLs will include your parameter.
Add as many parameters as you need, then click Next.
Next steps
Now that you've connected a custom partner to your app, you can do things like: